
The truth is, when it comes to 2D Landscape Plans, it seems there are many ways to approach it and there is not a one size fits all solution.
How can I do this better? It’s a great question which all of us should be asking. Rather than trying to figure it all out yourself, sometimes just taking cues from the bigger players can dramatically improve your efficiency and your productivity. The most successful design firms are obviously doing something right and they do have a proven strategy that is working and helping them remain competitive. If you can adopt some of their strategies into your own workflow then you’ll be in a much better position.

So how do the larger firms operate?
A typical design process of larger Landscape Design firms, is exactly that, a well documented process. That process is then divided into stages with responsibility allocated to each stage by different team members. This is a proven method of efficiency in any design practice and enables the firm to employ more staff with different levels of experience. Much like a production line, each team member becomes an expert at their stage or component and leads to faster delivery and (hopefully) less mistakes. Let’s look at an example.
Stage 1: Obtaining Critical Information
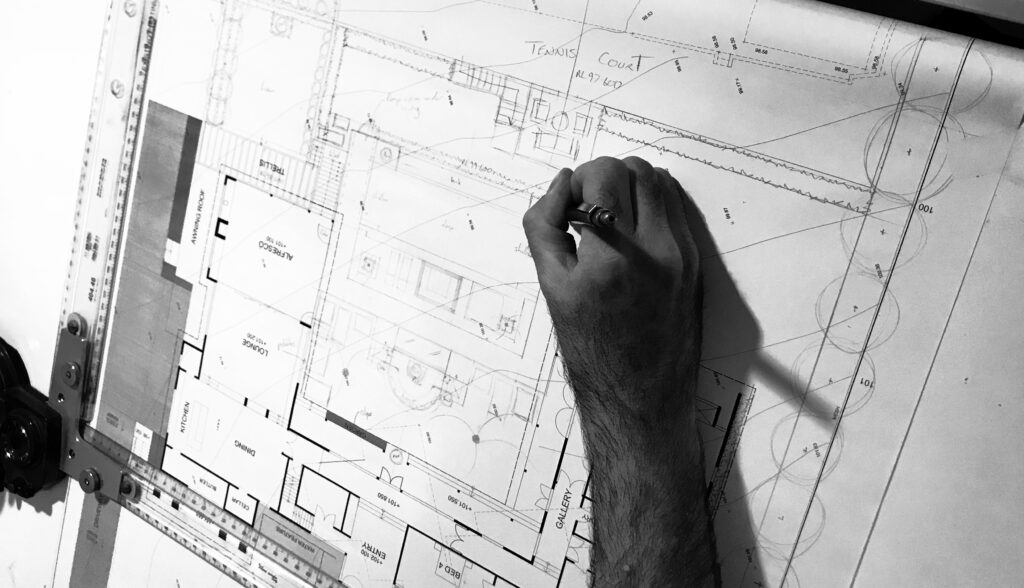
The Senior Designer would typically be the one that goes out to site and obtain the client’s brief. Their skill is asking the right questions, listening to the client’s needs and taking in the overall feeling of the site. They are often able to map out in their minds where the different areas of the design will be located and can already envision the type of plantings required in different locations. Their experience is also welcomed by the client who is often waiting with baited breath for some instant solutions to their problem or at least having confidence that their vision can be seen by an ‘expert’.

The next step is all about gathering and recording critical information about the site. This includes lots of notes, site measurements, and most importantly, good quality site photos. When there is a team involved, one of the most critical elements for success is passing clear information down the line. Obviously not every team member can visit the site or understand what the senior designer has sensed, and photos can go a long way to help convey the message.
Apart from site photos, the next critical step is to gather accurate documentation. Such as house plans, and elevations where possible, site surveys showing the property boundary, contour lines and slope as well as existing levels. This is also where all the services information can be found, such as sewer lines and manholes. It’s not until the team has all this information that they can begin.

The importance of this critical information cannot be overstated. It can become an important risk mitigation strategy. Good information discovered early on can help avoid expensive problems in the construction phase. The last thing you want is to start construction only to discover there is a sewer line running straight through where a pool is to be located. Or the boundary line is not exactly where it was noted on the concept plan.
Critical Information Checklist
- Client brief
- Site photos
- Site survey
- House plans
- Dial before you dig
Stage 2: Concept Development
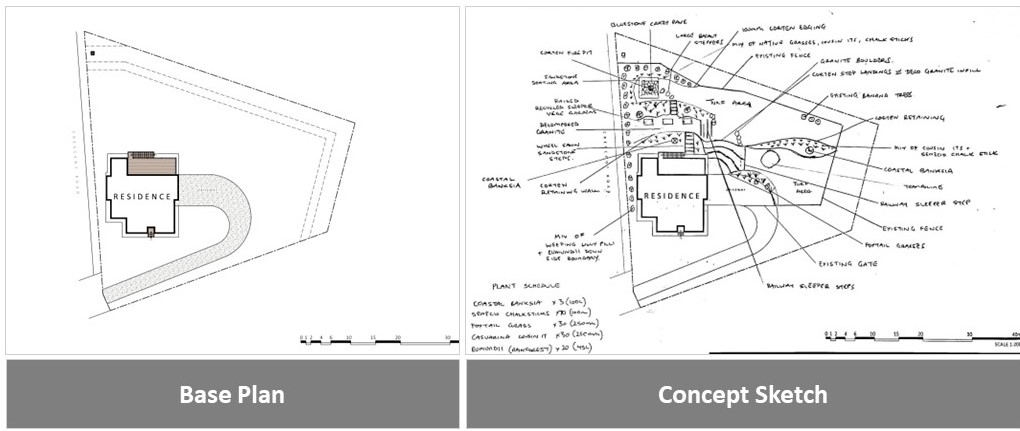
Once all that information is collated, the more junior team members can commence with what is commonly termed a Base Plan. This is when they create the blank canvas so to speak. The Base Plan is the start of the plan, showing only the house footprint, plus the property boundary and any other existing hardscapes that are likely to be retained. E.g. driveway, carport, retaining walls, water tanks. It can also show the service lines like the sewer and any manholes as these will often determine where certain elements of the design will be located. This is not difficult design work but does take some experience to ensure all the correct elements are included and the scales and levels are correct.
Next comes the concept development. Once the Base Plan is complete, it often goes back to the Senior Designer who then sketches out their conceptual ideas over the top. This may only include larger items such as pool, gazebo, outdoor entertaining areas and general planting which can be refined later. Then it goes back to the junior team member to replicate that back into CAD. This is often the time consuming component with labels and finishes but doesn’t take a lot of design experience to get it right.
The Senior Designer will then review the plan adding any necessary mark ups in red pen for fixing up or changing as it starts to come together. From this initial Concept, the designer can then add in Planting details or Sections & Elevations.
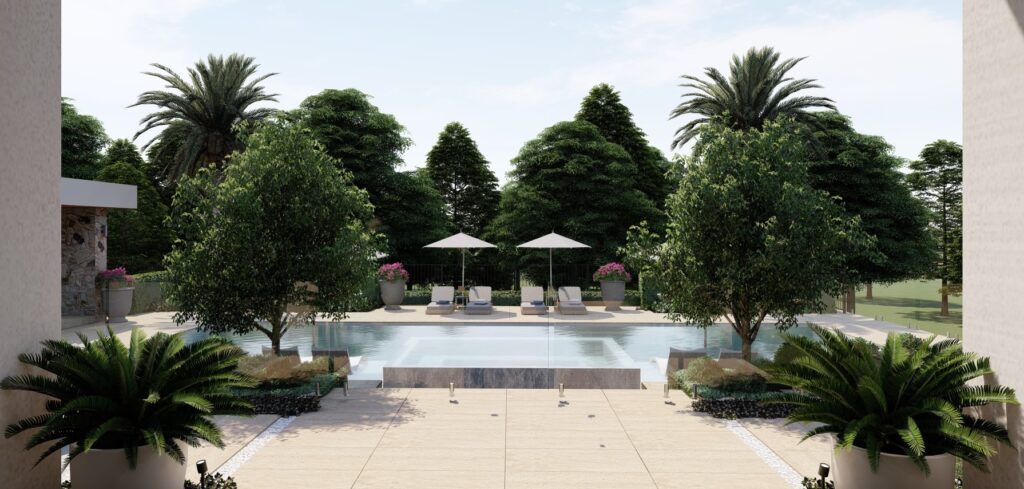
Some designers then take it a step further and model the design into 3D to bring it to life for all to see. Once the concept plan and the 3D renders have been finalised, the initial concept design can be sent onto the client for their review and a presentation meeting to talk through the design.
Stage 3: Revisions & Finalisation
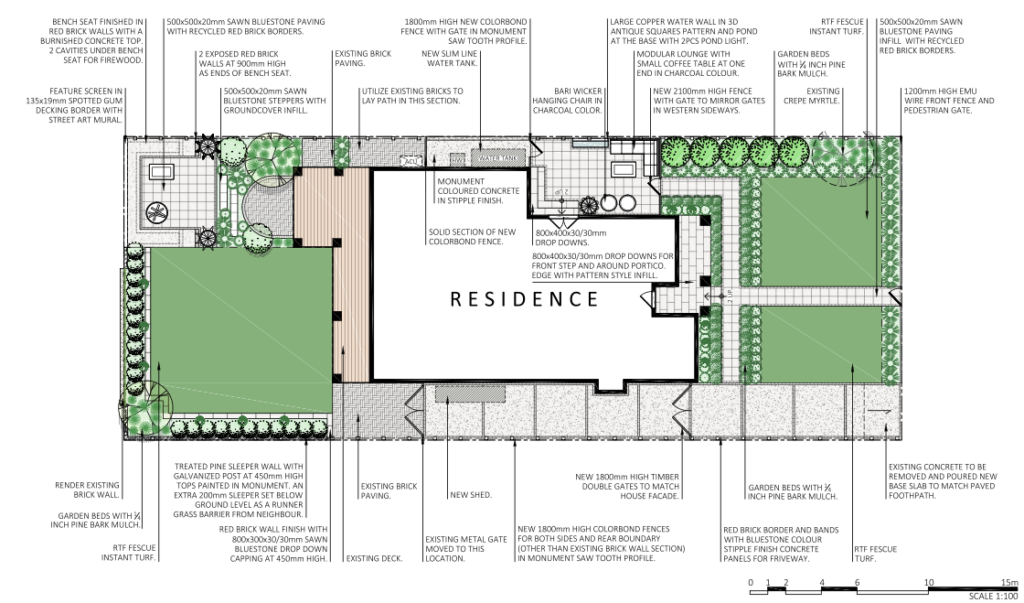
This is the stage where design changes are made based on the discussions with the client in the concept design meeting. You may have 1-3 rounds of revisions based on the size and complexity of the project. Once the client has accepted the concept design the team will then move into preparing a final set of more detailed plans ready for quoting, building approval and onto construction. These are the more technical of drawings which require a certain level of experience to deliver depending on the size and complexity of the project. This set of drawings may include plans such as:
- Detailed Concept Plan or Master Plan
- Hardscape Setout Plan
- Sections & Elevations (for certain elements of the design)
- Planting Plan and Schedule
- Lighting Plan.
A separate set of drawings may also be required for building approval where knowledge of council requirements is highly important for a smooth approval process.
Typically the senior designer will oversee this final set of detailed drawings to determine accuracy and compliance for the approval process and to make certain all is in order for a team to move the project into the construction phase.
So how can you incorporate that process into your strategy?

There are a lot of hours involved in that process, which is great for larger design firms with multiple staff members and computers etc.. It allows them to pump out multiple 2D landscape plans each week to cover all these overheads. But there is a way that smaller operators can achieve the same results without taking on risk. By outsourcing just one or two components of the process, you can increase your capacity without the financial risk that comes with hiring staff. You don’t need to move into a larger office or buy extra computers or expensive software. Plus it removes that pressure of having to keep work coming in consistently just to feed your staff work.
The Best Approach
First, consider your strengths when it comes to designing and ensure you are investing most of your time in the tasks where you are adding the most value. Then, map out your design process and decide which components of that process you want to do and which can be successfully outsourced to someone else.
If you are a solo operator, chances are your time is best spent in front of your clients, on site or creating designs. That is exactly where your true value lies, and it’s also probably what you are most passionate about. So the elements of the process that you can off-load would be the ones that a junior team member would typically do in a large firm. Essentially the drafting components. However, if you are like most solo operators, you have either attempted to hire junior staff unsuccessfully or the thought of it just makes you want to cringe.
This is where on-demand design support services can help you behave / act/ work like the larger firms. It allows you to achieve those efficiencies without taking on risk and avoiding the headache of hiring and managing staff.
By following the steps outlined above but replacing the junior team member with the design support provider, you can achieve the same results. Which is more time for you to spend on the areas where you can add value. Without the risk or the extra headache that comes with an in-house team.

Some outsourced providers can even follow the same steps just like the bigger firms. Here is a scenario that works most effectively with smaller designers using outsourcing for their 2D Landscape Plans.
Step 1:
Designer goes to site and gathers all the necessary information, including the site plan.
Step 2:
Send the site plan to the design support provider, requesting completion of a Base Plan.
Step 3:
Base plan is delivered back to the designer sometimes within 24 hours.
Step 4:
Designer sketches out their Concept Design over the base plan in pencil and returns it to the design support provider.
Step 5:
The concept sketch is replicated into CAD and the initial draft is sent back to the Designer for review.
Step 6:
Mark up any revisions or changes in red pen on the plan and return to the design support provider.
Step 7:
Once finalised, you can request additional plans, such as a separate Planting Plan, Lighting Plan or Sections & Elevations if required.
Additional Step: to take your project to the next level
If you want to look like a real pro, send your Landscape Concept Plan together with house plans and photos to the design support provider. They can model your project in 3D for you.
In this scenario, the Designer now has a professional set of 2D Landscape Plans (and possibly a 3D presentation). They are ready to present to their client but their only contribution has been where their skill set lies. They have been meeting with their clients, creating designs and making revisions. Rather than sitting for hours in front of a computer.
If you can relate to this situation then maybe outsourced design support could be a solution for you. By choosing an on-demand provider there’s also no risk, as you only pay for the support when you need it. If business is slow then your overheads remain low. On the other hand, when enquiries are high, you can potentially take on more work as your productivity goes up.
About Pitch Box
Pitch Box helps you increase your productivity without the need to hire staff
Pitch Box delivers 3D renders , SketchUp models and a range of 2D Landscape Plans for Landscapers and Landscape Designers in the residential market. The company prides itself on exceptional customer service, with a dedicated customer support team based in Brisbane, Australia. Delivering high quality products with a guaranteed project completion turnaround time-frame in only 5 – 10 business days. Unlike many 2D and 3D external service providers, Pitch Box’s pricing is transparent and competitive. Customers know exactly what they are getting, each and every time they place an order. Discover how Pitch Box can support your business and place your order by visiting the Pitch Box website today!